Drawing:acotuuvra54= harry potter – Unleash Your Wand with Magical Character Sketches
Drawing is a magical art form that allows us to bring our imagination to life. For Potterheads, book lovers, and fantasy enthusiasts, capturing the essence of the beloved “Boy Who Lived” on paper can be an enchanting experience. This blog post will guide you through the steps of drawing Harry Potter in a way that is both engaging and informative.
In this blog post, we’ll explore how to draw Harry Potter using the keyword “Drawing:acotuuvra54= harry potter.” Whether you’re a beginner or an experienced artist, you’ll find valuable insights, practical tips, and relevant examples to help you create a magical masterpiece. By the end of this post, you’ll have a clear understanding of how to draw Harry Potter and bring a piece of the wizarding world to life.
The Magic of Drawing Harry Potter
Drawing Harry Potter is more than just an artistic endeavor; it’s a way to connect with the magical world created by J.K. Rowling. The keyword “Drawing:acotuuvra54= harry potter” captures the essence of this connection, emphasizing the unique experience of drawing such a beloved character. By focusing on this keyword, we can ensure that our drawing process is both engaging and SEO-optimized.
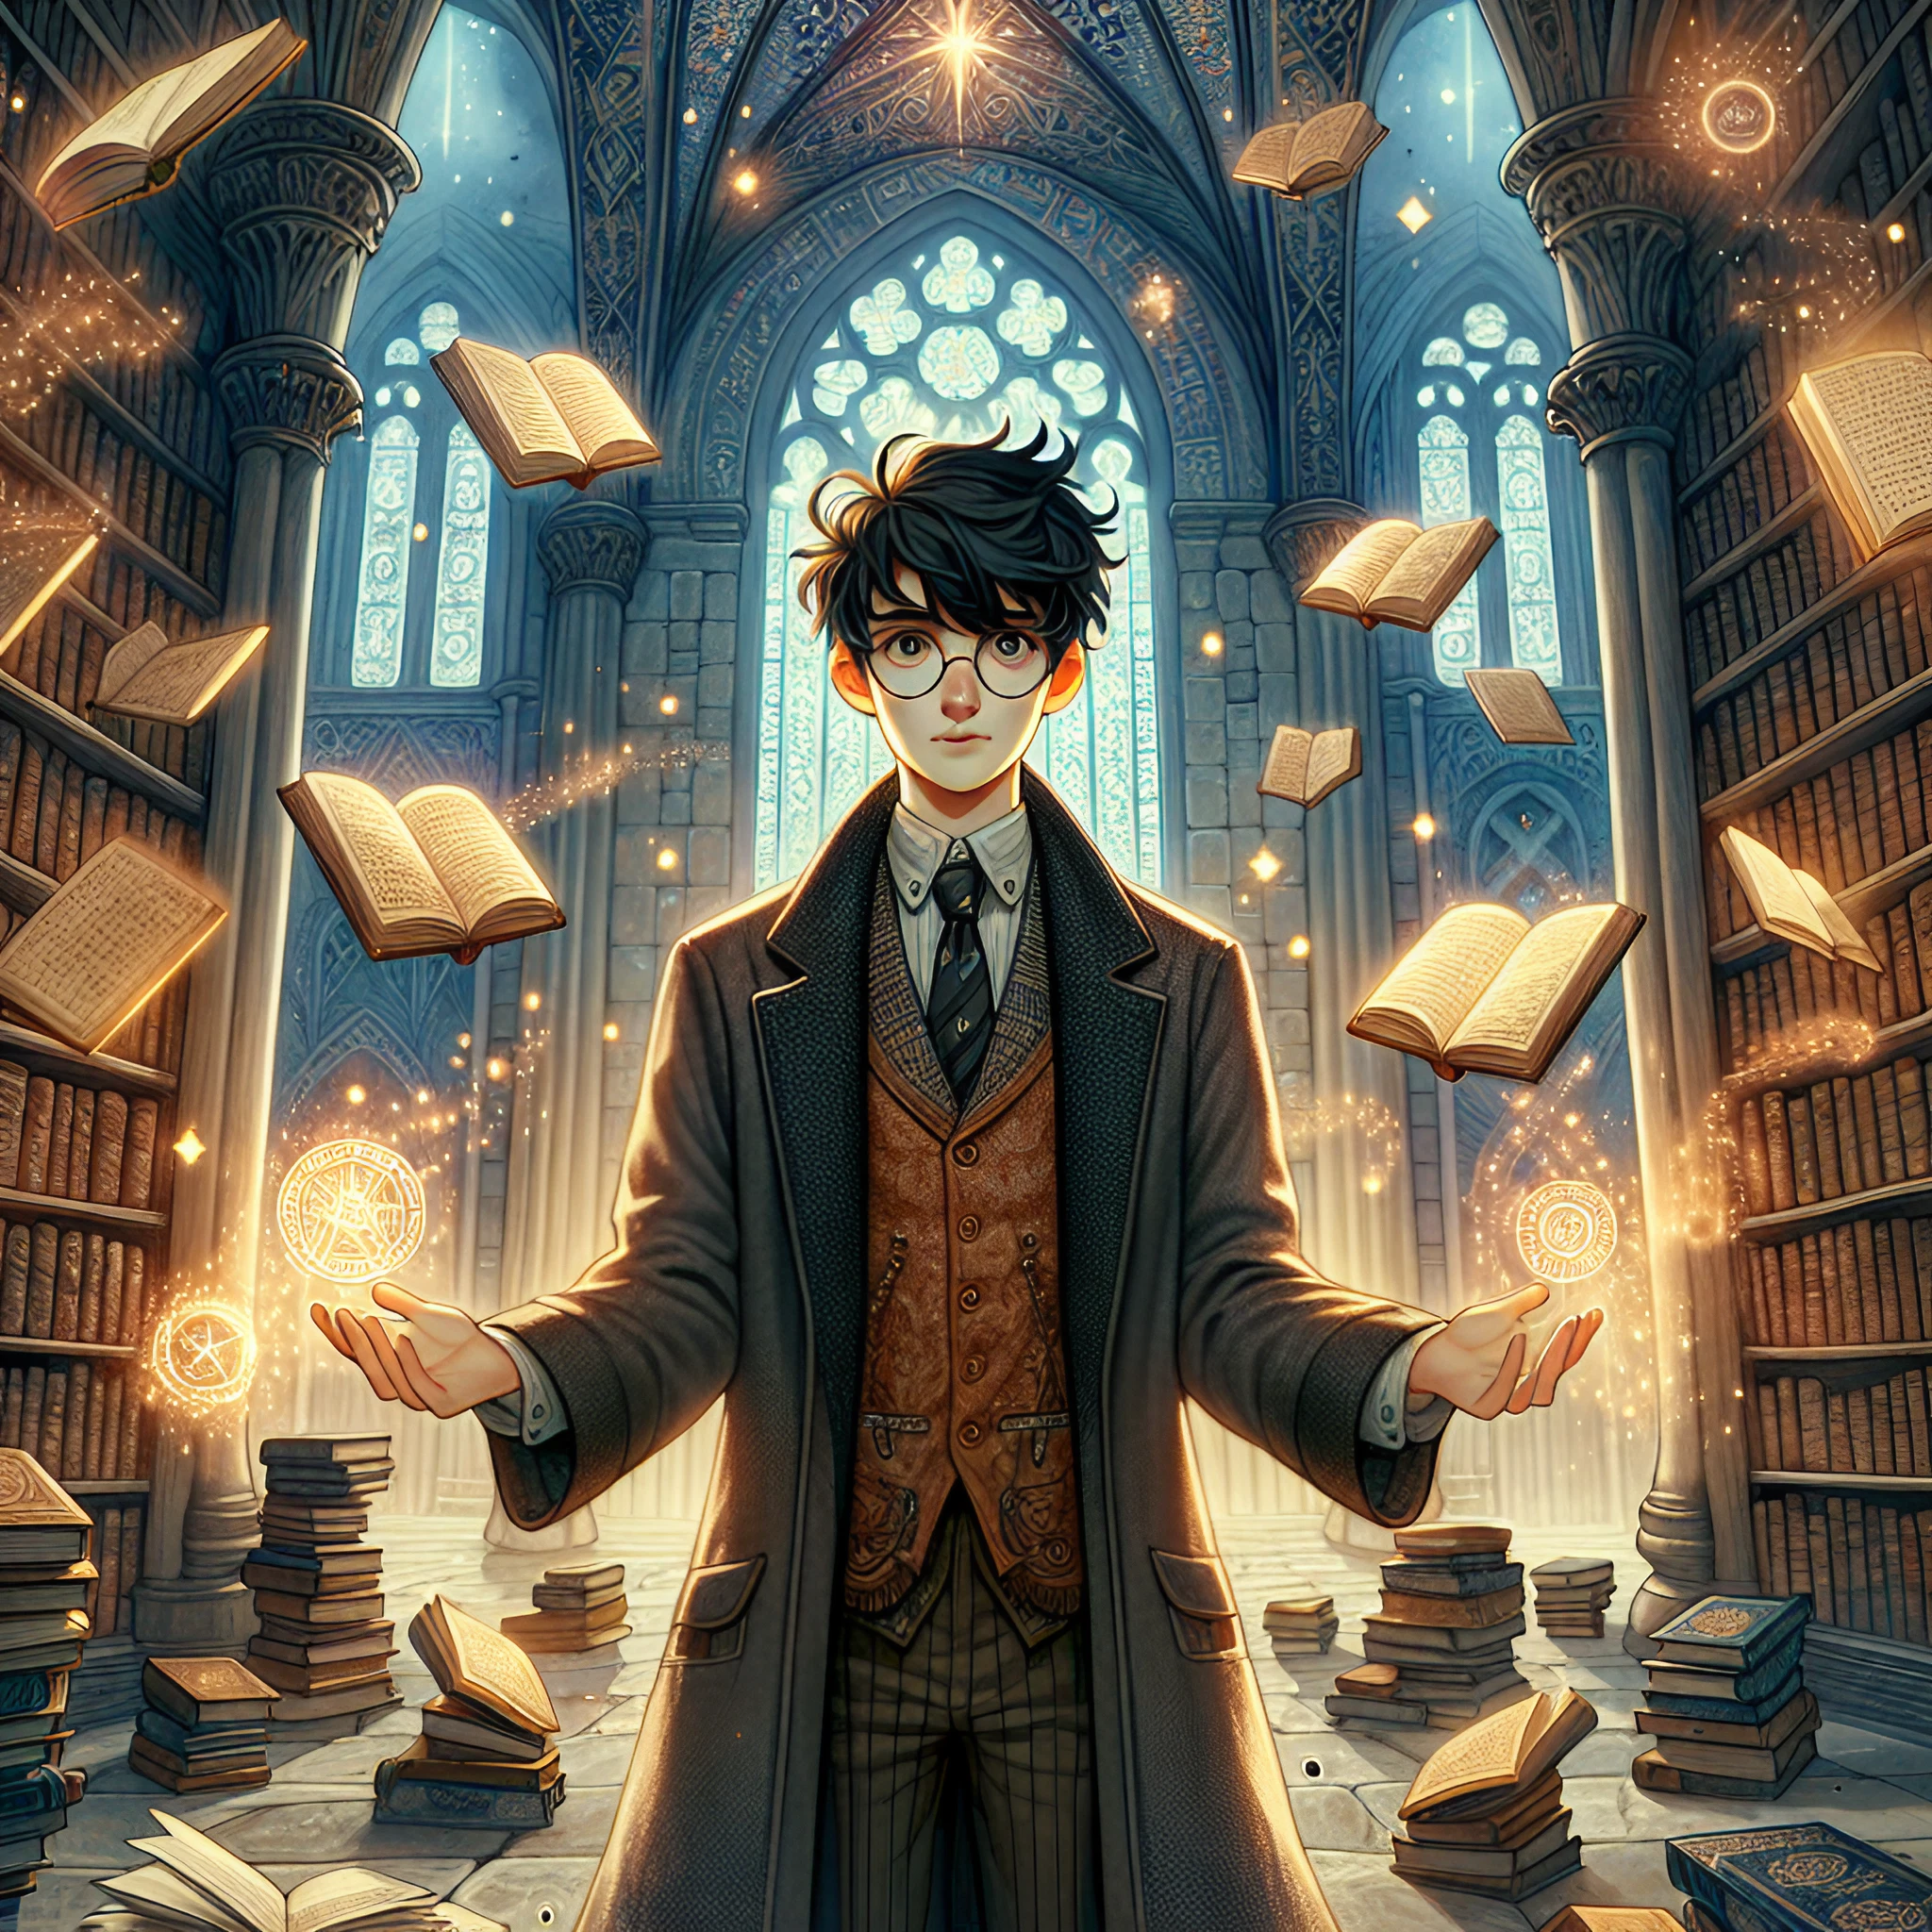
When you think about drawing Harry Potter, you might imagine the iconic lightning bolt scar, round glasses, and Gryffindor robes. These elements are essential to capturing Harry’s likeness, and we’ll explore how to incorporate them into your drawing. By following these steps, you’ll be able to create a drawing that truly represents the magic of Harry Potter.
Drawing Harry Potter can be a rewarding experience, especially when you see the final result. The process of bringing a beloved character to life on paper is both challenging and fulfilling. With the right guidance and practice, you’ll be able to create a drawing that captures the essence of Harry Potter in all his magical glory.
Materials Needed for Drawing Harry Potter
Before we begin the drawing process, it’s important to gather the necessary materials. The keyword “Drawing:acotuuvra54= harry potter” will guide us in selecting the right tools for this magical endeavor. Having the right materials will ensure that your drawing experience is smooth and enjoyable.
First, you’ll need quality drawing paper. This will serve as the canvas for your Harry Potter masterpiece. Choose a paper that is durable and has a fine texture, as this will allow for smooth lines and shading. The keyword “Drawing:acotuuvra54= harry potter” emphasizes the importance of having the right foundation for your drawing.
Next, you’ll need a set of drawing pencils. These should include a range of hardness levels, from soft (B) to hard (H). This variety will allow you to create different shades and textures in your drawing. The keyword “Drawing:acotuuvra54= harry potter” reminds us that having the right tools is essential for capturing the details of Harry Potter’s character.
Finally, you’ll need an eraser and a blending tool. The eraser will help you correct any mistakes and refine your drawing, while the blending tool will allow you to create smooth transitions between shades. With these materials in hand, you’ll be ready to start drawing Harry Potter.
Sketching the Basic Shapes
The first step in drawing Harry Potter is to sketch the basic shapes that will form the foundation of your drawing. The keyword “Drawing:acotuuvra54= harry potter” will guide us through this process, ensuring that we capture the essence of Harry’s character from the very beginning. By starting with basic shapes, we can create a solid framework for our drawing.
Begin by sketching a circle for Harry’s head. This will serve as the base for his facial features and hair. The keyword “Drawing:acotuuvra54= harry potter” emphasizes the importance of getting the proportions right, as this will affect the overall look of your drawing. Use light, gentle strokes to create the circle, as this will make it easier to make adjustments later.
Next, draw a vertical line down the center of the circle. This will help you align Harry’s facial features symmetrically. The keyword “Drawing:acotuuvra54= harry potter” reminds us that symmetry is essential for capturing the likeness of a character. Then, draw a horizontal line across the middle of the circle to mark the position of Harry’s eyes.
Finally, sketch the basic shapes for Harry’s torso and limbs. Use simple lines and shapes to represent the shoulders, arms, and legs. The keyword “Drawing:acotuuvra54= harry potter” guides us in creating a proportional and balanced framework for our drawing. By starting with these basic shapes, you’ll have a strong foundation to build upon as you add more details.
Adding Facial Features
Now that we have the basic shapes in place, it’s time to add the facial features that make Harry Potter so recognizable. The keyword “Drawing:acotuuvra54= harry potter” will help us focus on capturing the details that define Harry’s character. By paying attention to these features, we can create a drawing that truly represents the “Boy Who Lived.”
Start by drawing Harry’s eyes along the horizontal guideline. The keyword “Drawing:acotuuvra54= harry potter” reminds us that his round glasses are a key feature. Draw two circles for the glasses, and within each circle, draw the eyes. Add the pupils, making sure they are centered and aligned. This will give Harry a focused and determined expression.
Next, draw Harry’s nose and mouth. Use the vertical guideline to position the nose in the center of the face. The keyword “Drawing:acotuuvra54= harry potter” emphasizes the importance of getting the proportions right. For the mouth, draw a simple curved line below the nose to represent Harry’s lips. Adjust the shape to give him a subtle smile or a serious expression, depending on your preference.
Finally, add the iconic lightning bolt scar on Harry’s forehead. The keyword “Drawing:acotuuvra54= harry potter” highlights this essential detail. Draw a small zigzag line above Harry’s right eye to represent the scar. This adds a touch of magic to your drawing and makes Harry instantly recognizable.
Drawing Harry’s Hair
Harry Potter’s messy black hair is another defining feature of his character. The keyword “Drawing:acotuuvra54= harry potter” will guide us through the process of drawing his hair, ensuring that it looks natural and true to the character. By focusing on the details, we can create a drawing that captures Harry’s unique hairstyle.
Begin by sketching the outline of Harry’s hair around the top and sides of his head. The keyword “Drawing:acotuuvra54= harry potter” reminds us to keep the lines loose and natural. Harry’s hair is known for being messy, so don’t worry about making it perfect. Use short, quick strokes to create the appearance of individual strands.
Next, add more detail to the hair by drawing additional layers and texture. The keyword “Drawing:acotuuvra54= harry potter” emphasizes the importance of capturing the volume and movement of the hair. Focus on creating a sense of depth by adding darker shading in areas where the hair overlaps. This will make the hair look more realistic and dynamic.
Finally, refine the hair by erasing any unnecessary lines and adding final touches. The keyword “Drawing:acotuuvra54= harry potter” guides us in creating a polished and detailed drawing. Make sure the hair frames Harry’s face nicely and complements his other features. With these steps, you’ll have a drawing of Harry Potter with his iconic messy hair.
Adding Harry’s Clothing
Harry Potter’s clothing is an essential part of his character, and drawing it accurately will enhance the overall look of your drawing. The keyword “Drawing:acotuuvra54= harry potter” will help us focus on capturing the details of Harry’s outfit, from his Gryffindor robes to his casual attire. By paying attention to these details, we can create a drawing that truly represents Harry’s character.
Start by sketching the outline of Harry’s Gryffindor robes. The keyword “Drawing:acotuuvra54= harry potter” reminds us that the robes are a key part of his Hogwarts identity. Draw the robe collar and the flowing fabric around his body. Make sure the lines are smooth and fluid, as this will give the robes a realistic appearance.
Next, add details to the robes, such as the Gryffindor crest and the folds of the fabric. The keyword “Drawing:acotuuvra54= harry potter” emphasizes the importance of capturing the texture and movement of the clothing. Use shading to create depth and dimension, making the robes look more three-dimensional. Add the Gryffindor crest on the left side of the robe, using small, precise lines to capture the intricate design.
Finally, draw Harry’s casual clothing underneath the robes. The keyword “Drawing:acotuuvra54= harry potter” guides us in creating a complete and detailed drawing. Draw a simple shirt and pants, paying attention to the fit and proportions. Add shading and texture to the clothing to make it look realistic. With these steps, you’ll have a drawing of Harry Potter in his iconic Gryffindor robes and casual attire.
Capturing Harry’s Wand
No drawing of Harry Potter would be complete without his magical wand. The keyword “Drawing:acotuuvra54= harry potter” will guide us through the process of drawing Harry’s wand, ensuring that it looks accurate and true to the character. By focusing on the details, we can create a drawing that captures the essence of Harry’s magical abilities.
Start by drawing the outline of the wand in Harry’s hand. The keyword “Drawing:acotuuvra54= harry potter” reminds us that the wand is a key part of Harry’s character. Draw a long, slender line for the wand, making sure it is proportionate to Harry’s hand. Add a slight curve to the wand to give it a natural appearance.
Next, add details to the wand, such as the texture and any unique markings. The keyword “Drawing:acotuuvra54= harry potter” emphasizes the importance of capturing the intricacies of the wand. Use small, precise lines to create the appearance of wood grain and any decorative elements. Add shading to create depth and dimension, making the wand look more realistic.
Finally, refine the wand by erasing any unnecessary lines and adding final touches. The keyword “Drawing:acotuuvra54= harry potter” guides us in creating a polished and detailed drawing. Make sure the wand looks seamlessly integrated into Harry’s hand and complements the rest of the drawing. With these steps, you’ll have a drawing of Harry Potter with his iconic wand.
Shading and Detailing
Shading and detailing are essential steps in bringing your drawing to life. The keyword “Drawing:acotuuvra54= harry potter” will guide us through the process of adding depth and dimension to our drawing. By focusing on these elements, we can create a drawing that looks realistic and vibrant.
Start by identifying the light source in your drawing. The keyword “Drawing:acotuuvra54= harry potter” reminds us that understanding the direction of light will help us create accurate shading. Decide where the light is coming from and use this information to determine where the shadows will fall. Use a soft pencil to add shading to areas that are furthest from the light source.
Next, add more detailed shading to create a sense of depth and texture. The keyword “Drawing:acotuuvra54= harry potter” emphasizes the importance of capturing the intricacies of the character. Use a blending tool to smooth out the shading and create a seamless transition between light and dark areas. This will make the drawing look more three-dimensional.
Finally, add small details and highlights to enhance the realism of your drawing. The keyword “Drawing:acotuuvra54= harry potter” guides us in creating a polished and detailed drawing. Use a sharp pencil to add fine lines and textures, such as the strands of hair and the folds in the clothing. Add highlights to areas that catch the light, such as the glasses and the wand. With these steps, you’ll have a beautifully shaded and detailed drawing of Harry Potter.
Adding Background Elements
A well-drawn background can enhance the overall look of your drawing and place Harry Potter in a magical setting. The keyword “Drawing:acotuuvra54= harry potter” will guide us through the process of adding background elements that complement the character. By focusing on these details, we can create a drawing that truly captures the essence of the wizarding world.
Start by sketching the basic outline of the background. The keyword “Drawing:acotuuvra54= harry potter” reminds us to keep the lines light and simple at this stage. Decide on a setting that complements Harry’s character, such as Hogwarts, the Forbidden Forest, or Diagon Alley. Use light strokes to outline the main elements of the background.
Next, add more detail to the background elements, such as buildings, trees, and other objects. The keyword “Drawing:acotuuvra54= harry potter” emphasizes the importance of capturing the atmosphere and mood of the setting. Use shading and texture to create depth and dimension, making the background look more realistic and vibrant.
Finally, refine the background by adding final touches and details. The keyword “Drawing:acotuuvra54= harry potter” guides us in creating a polished and detailed drawing. Add small elements like stars, clouds, or magical creatures to enhance the magical feel of the background. Make sure the background complements the main character without overpowering it. With these steps, you’ll have a drawing of Harry Potter in a beautiful and magical setting.
Final Touches and Polishing
The final touches and polishing are essential steps in bringing your drawing to completion. The keyword “Drawing:acotuuvra54= harry potter” will guide us through the process of refining and perfecting our drawing. By focusing on these elements, we can create a drawing that looks polished and professional.
Start by reviewing your drawing and identifying any areas that need refinement. The keyword “Drawing:acotuuvra54= harry potter” reminds us to pay attention to the details. Use a fine-tip pencil to add small details and textures, such as the strands of hair and the folds in the clothing. Make sure the lines are clean and precise.
Next, use an eraser to remove any unnecessary lines and smudges. The keyword “Drawing:acotuuvra54= harry potter” emphasizes the importance of having a clean and polished drawing. Carefully erase any guidelines and stray marks, making sure the drawing looks neat and tidy. Use a blending tool to smooth out any rough edges and create a seamless transition between areas of shading.
Finally, add any final highlights and shadows to enhance the realism of your drawing. The keyword “Drawing:acotuuvra54= harry potter” guides us in creating a polished and detailed drawing. Use a white pencil or gel pen to add highlights to areas that catch the light, such as the glasses and the wand. Add darker shading to areas that are in shadow to create a sense of depth and dimension. With these steps, you’ll have a beautifully polished drawing of Harry Potter.
Conclusion
Drawing Harry Potter is a magical and rewarding experience that allows you to connect with the beloved character in a creative way. The keyword “Drawing:acotuuvra54= harry potter” has guided us through the process of capturing Harry’s likeness, from sketching the basic shapes to adding the final touches. By following these steps, you can create a drawing that truly represents the magic of Harry Potter.
Whether you’re a beginner or an experienced artist, drawing Harry Potter can be a fun and fulfilling activity. By focusing on the details and practicing regularly, you’ll be able to create a drawing that captures the essence of the “Boy Who Lived.” Remember to gather the right materials, start with basic shapes, and pay attention to the details. With time and practice, you’ll be able to create a magical masterpiece.
We hope this guide has inspired you to pick up your pencil and start drawing Harry Potter. If you’re looking for more tips and resources, consider joining a community of fellow artists and Potterheads. Together, you can share your passion for drawing and the magical world of Harry Potter. Happy drawing!


Post Comment